
There is an old joke that goes "Ray tracing is the technology of the future and it always will be!"
In recent years, there has been a hype in the gaming world about a new feature of modern GPUs called ray tracing. You have probably watched some gameplays which compare old-style 3D graphics to the new style, often called RTX. If you are not familiar with the effects, here is a showcase of ray tracing in Minecraft, recently presented by Nvidia, the current leading manufacturer of GPUs with real-time ray tracing support. I believe that in this game, the effects of this technique are stunning, especially comparing to the classic simple Minecraft graphics.
As you could see, images made with ray tracing tend to look much better. But how does it work? Is it actually a new technology? Why does it look so realistic? Before I answer these questions, let’s start with the basics - how typical 3D graphics pipeline works.
Rasterization
The classical 3D graphics technique, which has been used for many years in real-time renderings, like in games, is called rasterization. To put it simply, it usually works like this:
- Application (like a game) creates a 3D model of a scene to render. It consists of many primitive shapes, almost always triangles, which build up all the visible objects.
- Some geometric transformations are applied, so that all objects can be normalized, some of them which are not in the field of view of a camera are discarded, and it is easier to perform calculations in subsequent steps. In this step, there is a lot of matrix computations in order to transform the scene coordinates into the view coordinates, etc. Later, using inversion of these matrices, we can for instance project mouse click on the screen to some point on our scene.
- Every triangle (there are some optimizations, so maybe not exactly every) is checked if it is closer to the camera at some points than the others. This is the heart of rasterization called Z-buffering.
- The closest primitives are drawn by the GPU using shaders - usually small programs running for every pixel and calculating its final color.
Of course, I oversimplified it here a little, but that is enough to understand the difference with ray tracing. The thing to remember from here is that in rasterization, we ask the question: For every object, is this object visible by the camera? In ray tracing, we try to answer a different question.
The idea of ray tracing
This question is For every pixel, what object should be drawn on this pixel? It might look the same, but actually, it is not. In rasterization, we primarily traversed our scene, here we at first look at every pixel. This little difference really makes difference. Here we have a figure (thanks to Wikipedia) showing the basic idea:

Through every pixel, we cast a ray from a virtual camera, then we trace this ray (that is why it is called ray tracing!) as it travels around our scene. Eventually, it can hit some object, and then we can set the pixel color according to the properties of that object.
It is a simulation of light rays, but backward. We try to find from which direction could light come to the camera at some particular point, and what color it has.
This explanation might seem quite blurry. How to know which object is hit by the ray? Moreover, even if we know which one, how to calculate the pixel’s color taking into account lights, shadows, etc.? Well, it depends. There are many techniques for obtaining different results.
Whitted ray tracing - recursion
One of them was invented in 1979 by Turner Whitted in his famous paper An improved illumination model for shaded display. Whitted ray tracing is recursive. It means that when we find an intersection between a ray and an object, we send other rays from the hit point in order to determine better the color at this point. It is useful for surfaces like mirrors. Even if our ray hits the mirror, we need to reflect it to get the actual color of what is reflected. It is also useful for basic point lights, we can easily draw shadows.
Ray marching
This is a technique for finding intersections between rays and objects. In normal ray tracing, we can easily check if the given ray intersects some object because we often use primitive shapes like triangles or spheres. But sometimes, we want to render something more complicated, for instance, fractals, or some other strange shapes. The solution is not to look for an exact point of intersection, but to march along the ray and check how far from the object we are now. If the point along the ray is close enough, we can assume that it is the intersection point. As you see, this technique requires some distance estimators, but surprisingly, there are many shapes for which it is easier to estimate the distance to them than the exact intersection.
Distributed ray tracing
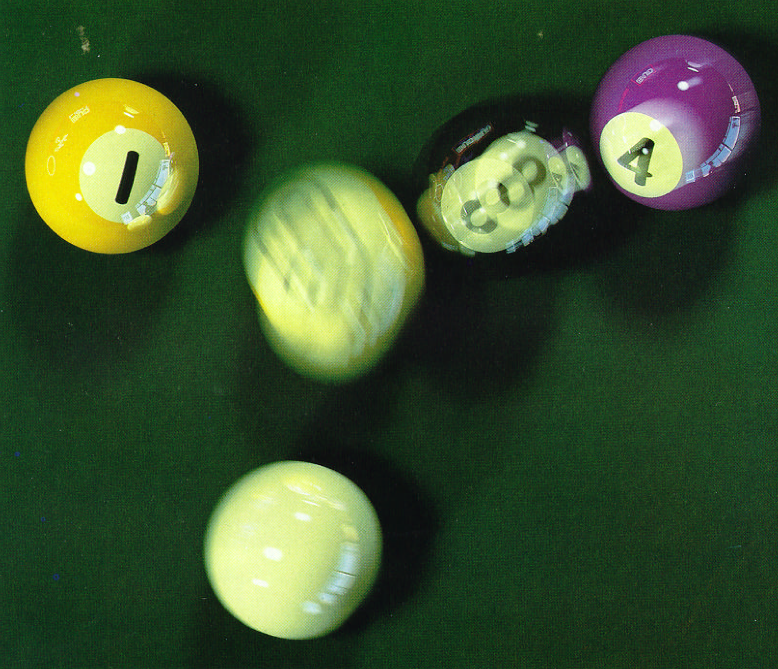
One ray for every pixel is often not enough. There are many fuzzy effects in the real world, like motion blur or depth of field. They can be simulated by casting many different rays instead of one and averaging their results. This approach was presented by Robert L. Cook in his paper, which is now available on Pixar website. Here we have an example of his work, which includes soft shadows and motion blur:
Advantages
You have already seen some effects of ray tracing and I suppose you have already recognized its best feature: it can produce photorealistic images. In the real world, we see things as we see them because of the behavior of light. Ray tracing tries to simulate this behavior. Rays can reflect, cast soft shadows, refract (this curvature of light when it hits e.g. glass), we can simulate depth of field, motion blur, and many other features pretty easily. Another effect that makes ray tracing photorealistic is the noise that is often produced with distributed rays (see above). Usually, we try to minimize it, however, it gives a more realistic feel, as real photographs also have some little noise.
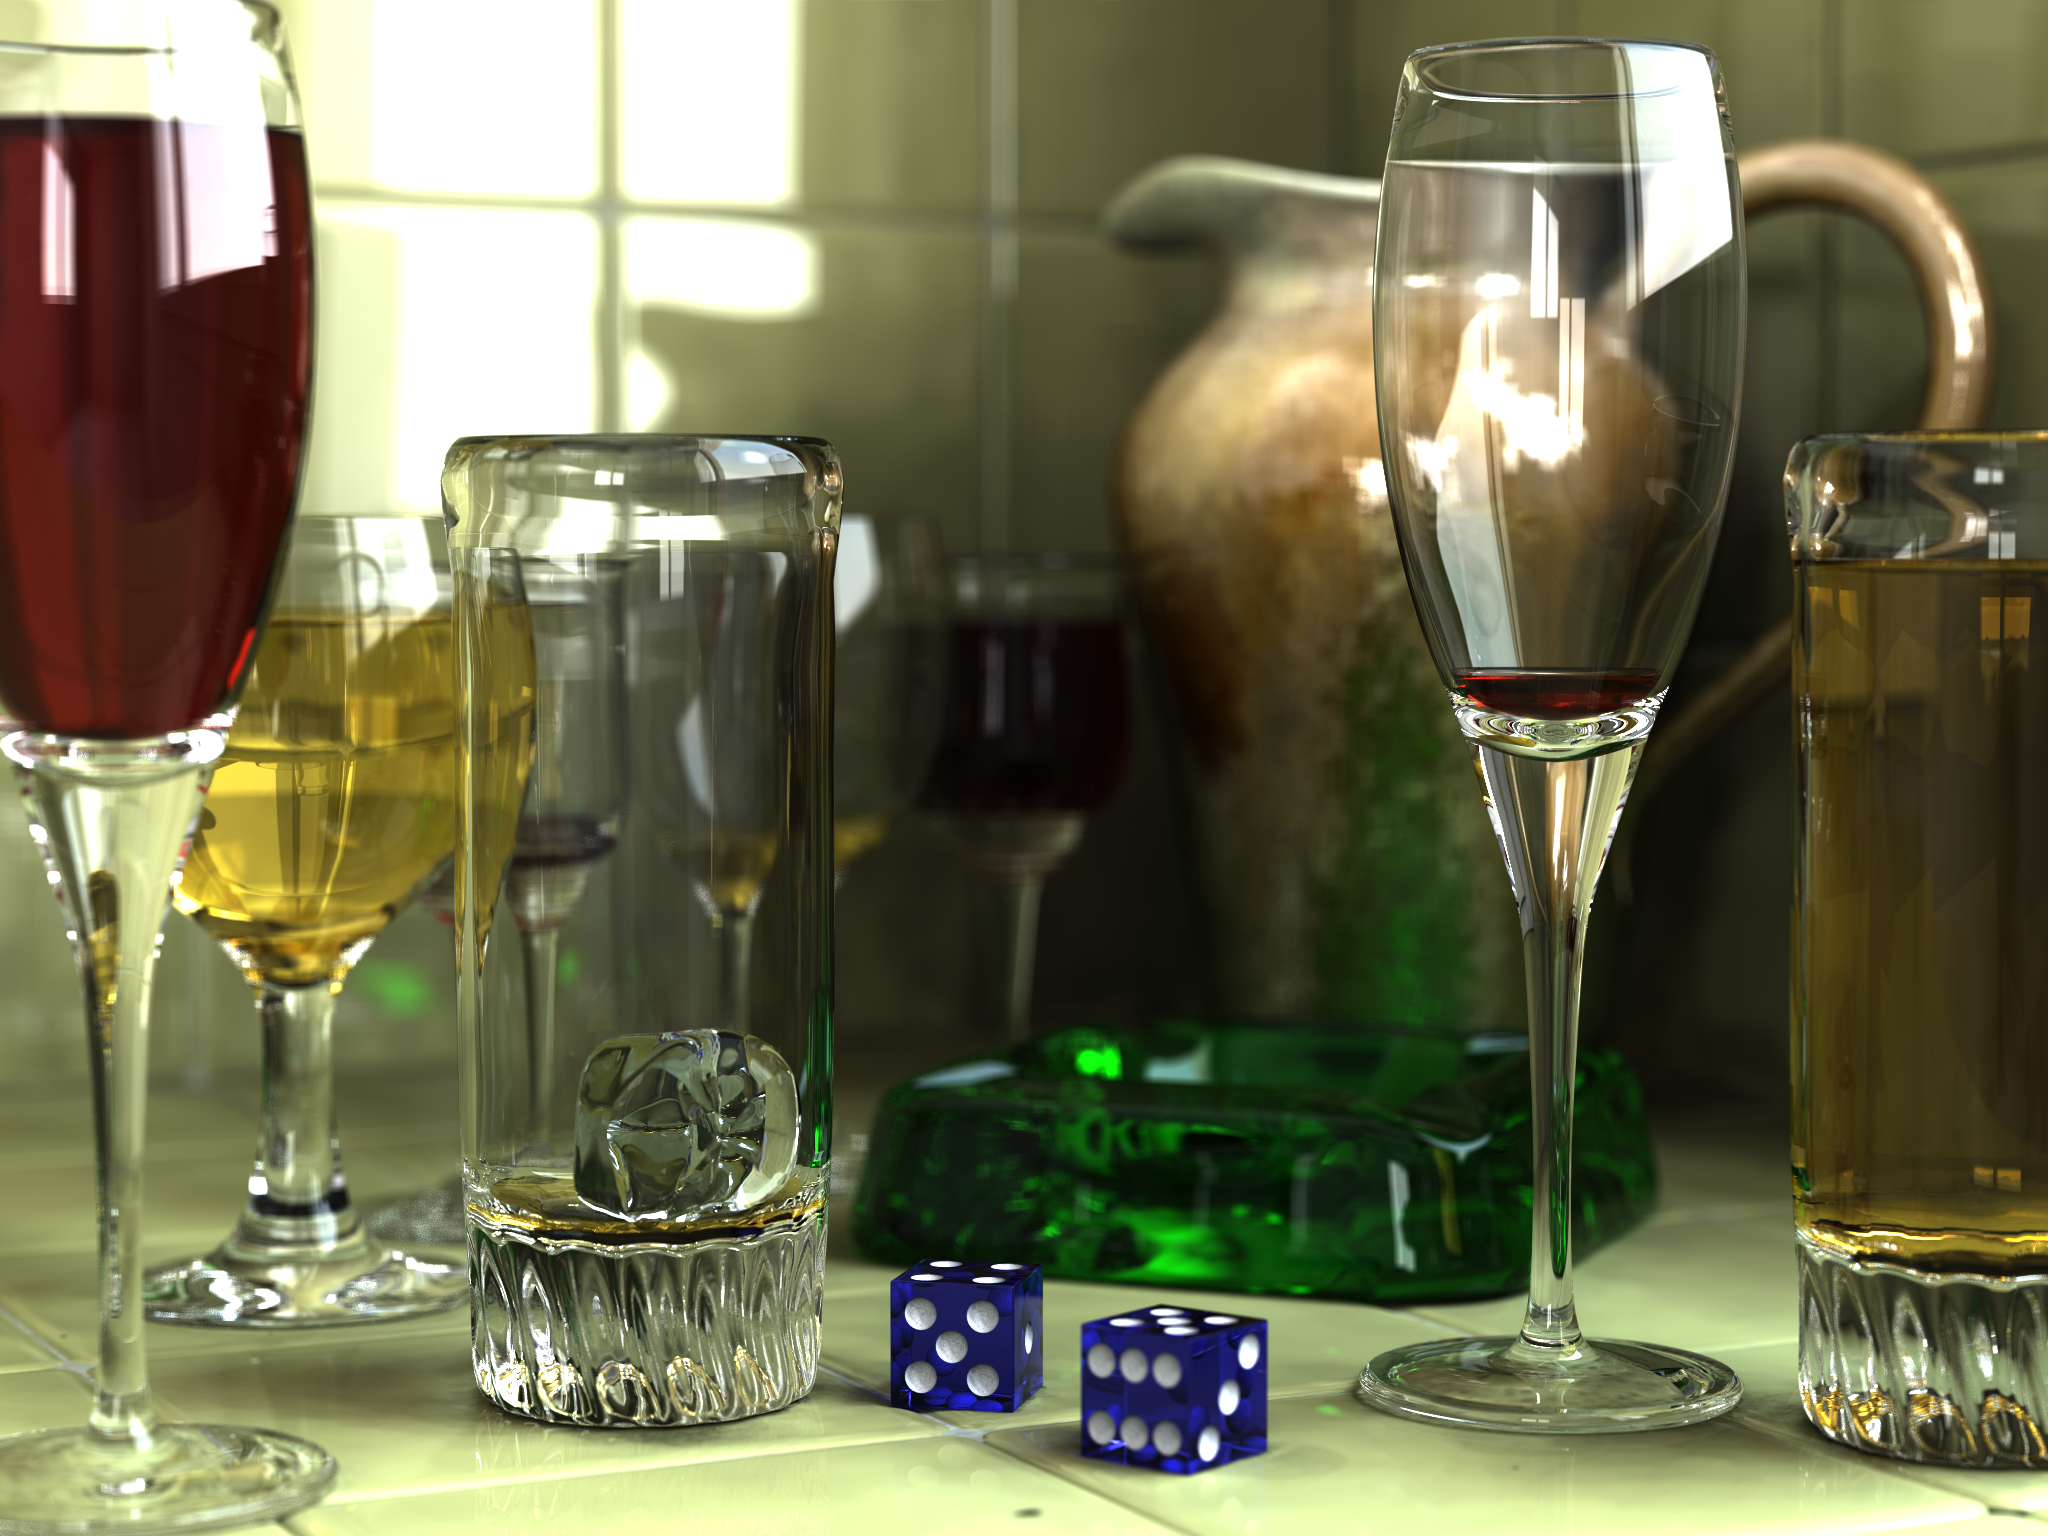
Another plus is that we can use models built with different primitives, even not so easily bounded, like 3D fractals. Spheres, toruses (donut shapes), or whatever what is computable somehow can be used. Also, very different materials can be rendered pretty easily, like glass (do you often see realistic glass in rasterized games?). Here you have a marvelous example, also taken from Wikipedia :)
Disadvantages
Ray tracing has one large downside - performance. Usually, it is terribly slow, as it needs lots of calculations. For every pixel, we need to run multiple samples (for better quality), then these rays are checked against lots of primitives, then we often do it recursively.
That is a lot of work and the reason why we have had real-time ray tracing available for casual users only for some years. Only recently, GPU manufacturers can produce so powerful devices that it is becoming possible to use ray tracing along with rasterization.
It is worth noticing that this is also the reason why rasterization became more popular, even if it was invented later (ray tracing in the 60s, Z-buffering in the 70s). Ray tracing was just too heavy for daily use cases in 3D graphics.
Fortunately, there are some ways to optimize it, like using Bounding Volumes (ray tracing is then considered to have O(log n) complexity, where n is scene size), running in parallel (every pixel is independent!), or better light transport algorithms (for instance the Metropolis algorithm).
Summary
I have been highly interested in the subject of ray tracing for a long time, appreciating the effects it can obtain. Recently, I have started to write my own little simple ray tracer in C++, which I suppose I will show on this blog soon. The first picture in this article was rendered with it!
As always when writing here, I hope that you have learned something new and get interested in this matter as me. Below, I gathered some great references if you would like to know more about this wonderful rendering technique.
Thanks for reading!
References
- Eric Haines, Tomas Akenine-Möller - Ray Tracing Gemes.
- Eric Haines (Nvidia) - Ray Tracing Essentials - new video series about ray tracing.
- Peter Shirley - Ray Tracing in One Weekend - great tutorial, the point where I started.
- Greg Humphreys, Matt Pharr - Physically Based Rendering: From Theory to Implementation - complete guide to write own ray tracer.